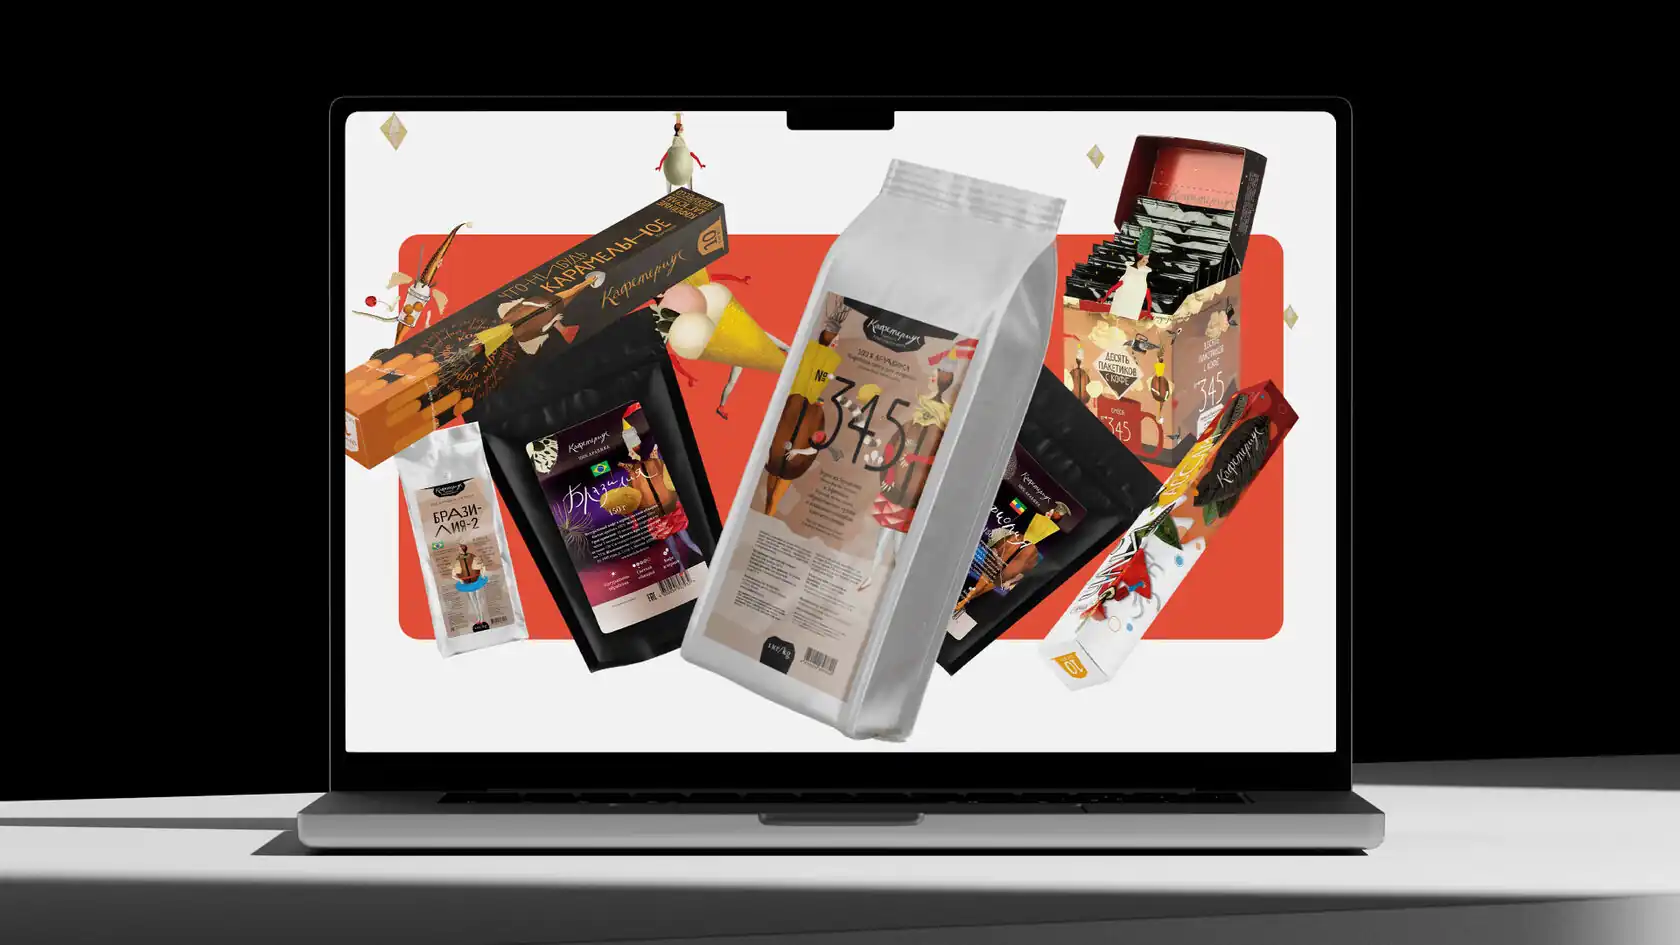
Souvenir products and branded merchandise: principles of development

What a brand encounters when the logo "doesn't fit" the merchandise
Classic situation: a brand manager sends a contractor a logo in PNG, downloaded from a website — and a week later receives a batch of notebooks with toothed letter edges and muddy colors. The problem is that a raster image is a fixed grid of pixels that loses sharpness when scaled up, and 'eats' fine elements when scaled down. According to industry data, it is exactly file-related issues — incorrect format, RGB instead of spot colors, lack of clear layout of printing zones — that cause 1% of production delays before the product even reaches the equipment.
The solution is simple on paper and is almost always ignored in practice: a logo for merchandise must exist in a vector format (AI, EPS, PDF, SVG) with clear contours and a pre-defined color model for a specific printing method. A raster file is only suitable as a reference, but not as a working layout.
How to prepare a file for the printing method: vector, raster, Pantone, CMYK, RGB
Each printing method dictates its own requirements for the file, and there is no universal template 'for all cases'. A screen logo in RGB is always a compromise that will have to be recalculated for the physics of printing or fabric.
| Printing method | File format | Color model | Features of preparation |
|---|---|---|---|
| Screen printing | Vector (AI/EPS) | Pantone (spot colors) | Each color is a separate screen, it is important to separate colors and raster points for gradients |
| DTG (direct-to-garment printing) | High-resolution raster or vector | CMYK | Well reproduces gradients and photorealistic elements, but worse retains saturation on dark fabric |
| Embroidery | Vector + embroidery file (DST/PES) | Separate thread palette | Requires conversion of contours into stitches, thin lines and small text need to be enlarged in advance |
| Laser engraving | Vector (black and white outline) | No color — depth/tone gradation | Contour contrast is important, mid-tones are conveyed by hatching, not color |
| Offset/digital printing (packaging, notebooks) | Vector or raster 300 dpi | CMYK | A color proof is needed before printing, RGB must be converted |
The rule is simple: for screen printing and embroidery, a separate version of the logo with a limited palette is always prepared, for digital printing — a file in CMYK with a profile for a specific printer. Sending the same RGB version to all productions is a guaranteed way to get different results in each batch.
Why the color on the screen and on the mug are two different colors
The screen emits light, while the material reflects light — that is the whole difference. An RGB monitor forms color from light, whereas paint on fabric, ceramic, or metal works with pigments and their interaction with the surface. Because of this, the same brand shade can change by 20–40% when transferred to a physical medium — brand blue on the screen easily turns into a faded grayish-blue on cotton.
The type of material also affects the result: glossy ceramic enhances saturation, matte textile dulls it, metal adds a cool undertone. Therefore, a brand book for merchandise should include not only HEX and RGB, but also Pantone equivalents for textiles and hard surfaces — and require a physical color proof from the contractor before printing, not approval based on photos in correspondence.
What is the minimum size of a logo that is still readable
There is no universal answer of "10 mm will always do" — everything depends on the complexity of the logo and the method of application. But there are benchmarks that should be built into the brand guideline:
- 15 mm — the minimum acceptable size of a logo for souvenirs when using standard printing methods;
- for embroidery, the text within the logo should not be smaller than 0,25 inches (6,35 mm) in height — smaller, and the thread simply won't stitch the outline cleanly;
- lines thinner than 0,5 pt on embroidered items completely disappear — they need to be thickened or removed from the adapted version of the logo;
- any logo should be physically checked at a size of approximately 10 mm — if details are lost at this scale, then a simplified version of the logo is needed for small carriers (pens, badges, patches).
This leads to a practical conclusion: a brand should not have just one version of a logo, but a range of adaptations — full, simplified (without small elements), and monochrome — with clearly defined minimum sizes for each.
Technical errors that most often ruin the quality of application
Most defects on merchandise are not the fault of production, but the result of the original design not being ready for transfer to the material.
- Thin lines and notches in the logo. On screen printing and especially on embroidery, elements thinner than the threshold thickness are physically not reproduced — they need to be thickened or removed during adaptation.
- Low contrast between logo elements. On fabric, especially dark fabric, halftones and details close in tone blend together — contrast should be checked not on screen, but on a fabric sample.
- Small details when scaling. Gradients, subtle typography, embedded elements disappear when scaled down — a solution in a simplified version of the logo for small media.
- Incorrect choice of method of application due to the complexity of the logo. Attempting to embroider a logo with a gradient or to print it by screen printing a small photorealistic element increases the cost by 20–30% and still gives a worse result than the properly selected technology.
- Sending a raster file instead of a vector one. This is a baseline, but it is violated most often — a logo sent from a website in PNG format almost guarantees jagged edges when scaled up for large media such as bags or umbrellas.
Control points at production during mass production
Even a perfect file won't help if there is no control at the printing stage. Here, the logic of staged acceptance works, not a one-time check of the finished batch.
- Color sample approval on real material before the print run — not on a monitor, not on a paper printout.
- Checking the first sample (preproduction sample) with logo measurement in physical size and color verification according to the Pantone book.
- Control of seam section on textile products — this area accounts for up to 80% of sewing defects, of which 42,1% are specifically seam defects where the embroidered or printed logo often 'shifts'.
- Selective checking of a batch in the middle of the print run, not only at the beginning — equipment can 'drift' in paint settings or thread tension over time.
- Final acceptance with checking logo readability on small product elements (zippers, cuffs, cup edges) — details are lost more often there than on the flat main surface.
Saving on these checks results in either a repeat print run or merchandising that the brand hesitates to give away. And the stakes are high: according to PPAI data, 83% of consumers believe that a quality promotional product reinforces their loyalty to the brand, and 75% are willing to make a purchase after getting acquainted with good merchandising. In the USA, this item accounts for over 15% of the advertising budget, in Russia — according to conservative estimates, no less than 5% of the PR budget. This is not a souvenir 'just for the sake of it' — this is an identity carrier that either works for the brand or damages its impression faster than any bad advertisement.
Recent articles



MegaFon, BMW, VTB and more 240+ companies. See how it looks in the showcase reel:


Our branding agency is approached to order:
Branding agency services